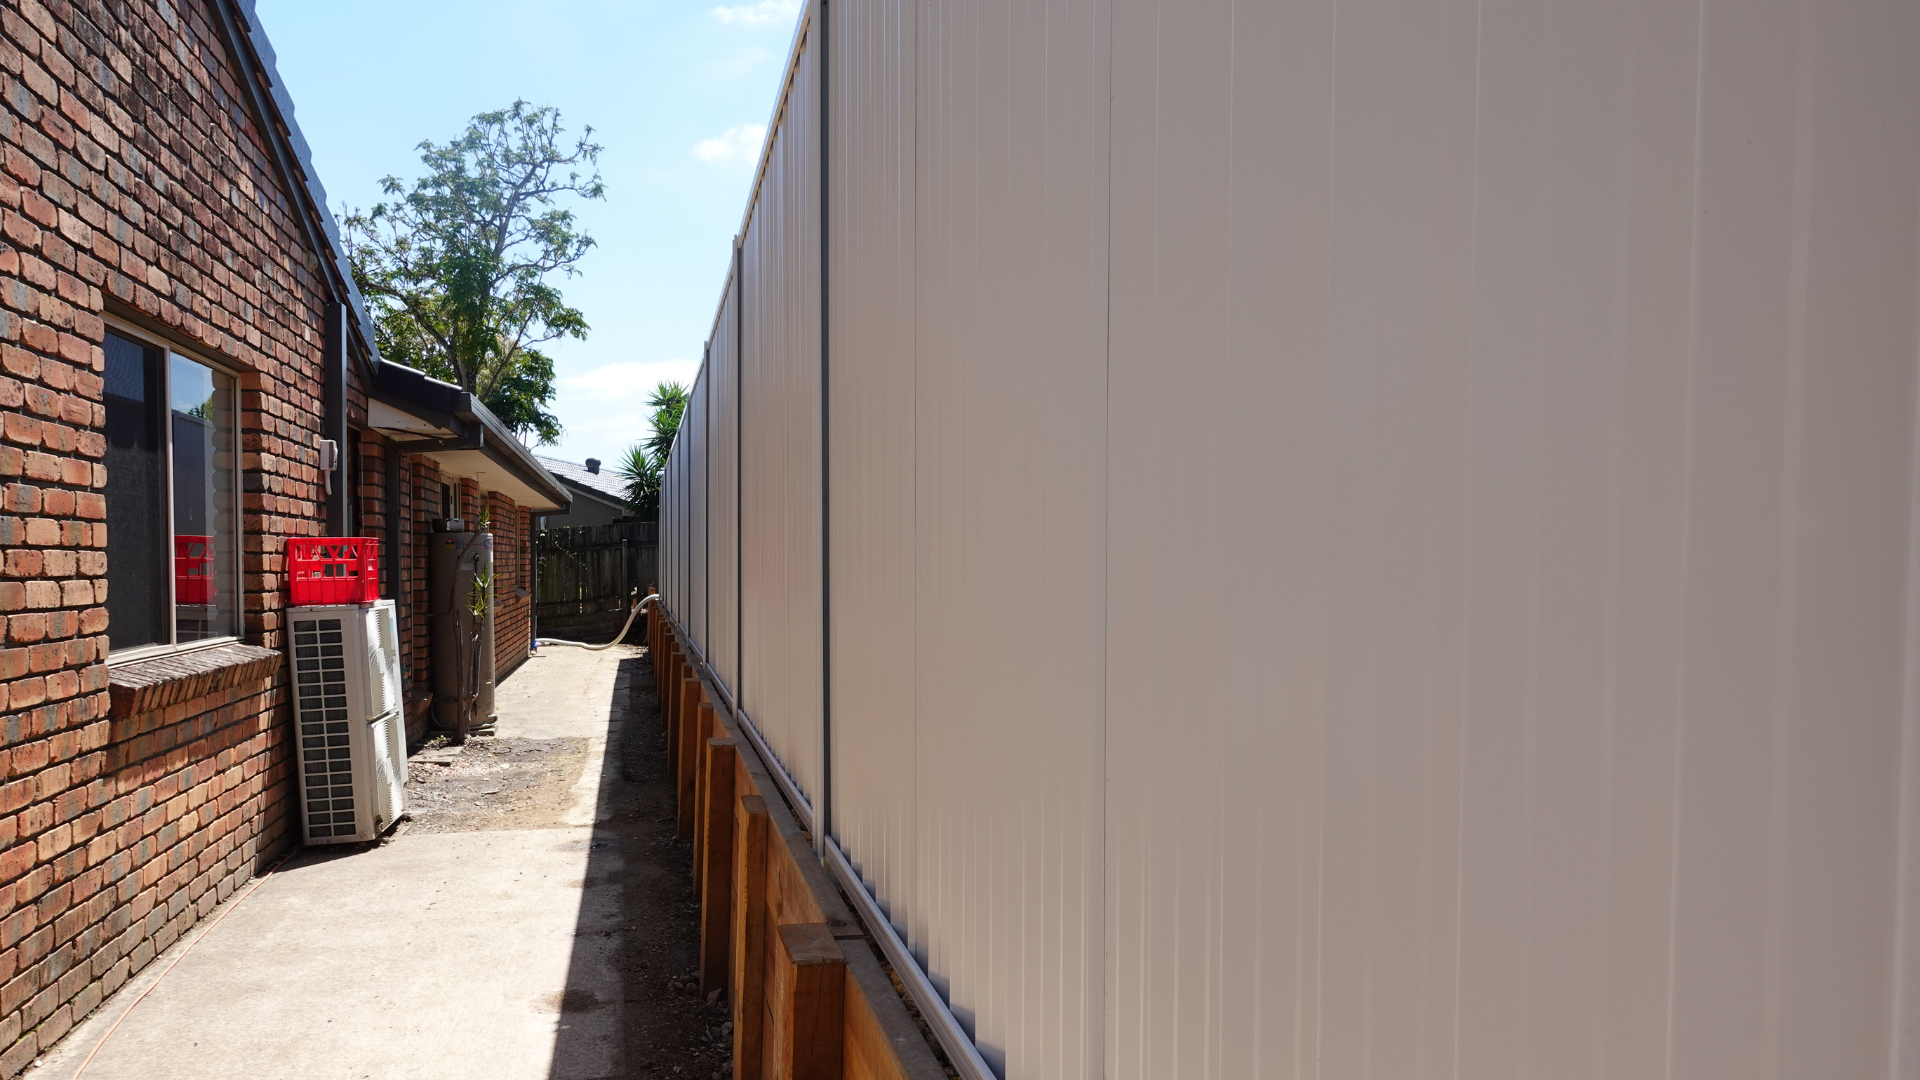
The Ultimate Guide to Installing a Colobond Fence on a Retaining Wall
Video Link: https://www.instagram.com/reel/DCe_TdboK5L/?utm_source=ig_web_copy_link&igsh=MzRlODBiNWFlZA==
So, you’ve built a fantastic retaining wall, and now it's time to put up that sleek Colobond fence on top. But wait—there’s a bit more to it than just whacking some panels in and hoping for the best. Let’s break it down step by step, so you don’t end up with a wonky fence that looks like it’s had a rough night at the pub.
Step 1: Understanding Your Options
There are two main ways to attach a Colobond fence to your retaining wall:
Attaching Directly to the Sleeper Wall – This involves fixing the fence behind the sleepers with a nice cap on top, allowing the Colobond bars to sit neatly behind each post. It gives a clean, structured look.
Using Colobond Shark Fins – These steel bars attach to the posts and stand up like little shark fins, allowing you to screw and drill both sides of the Colobond rail into them. It’s a strong and sturdy method, especially useful when the retaining wall has a slight fall.
Step 2: Checking Your Retaining Wall
Before you start drilling away, take a moment to check if your retaining wall is level. If it has a slight fall (which is common), you’ll need to pack out the bottom in some spots to ensure the fence sits straight. Otherwise, you might end up with a fence that leans like it’s trying to escape.
Step 3: Gathering Your Materials
Here’s what you’ll need:
Colobond fencing panels
Colobond posts
Shark fins (if using that method)
Drill & screws
Level
Measuring tape
Packing material (for leveling)
Protective gear (because safety first!)
Step 4: Installation Time!
Method 1: Attaching to the Sleeper Wall
Measure and mark where your Colobond fence posts will sit.
Drill holes into the back of the sleeper wall to secure the posts.
Slide the Colobond rails through each post and fix them securely.
Add a cap on top for a polished finish.
Double-check for levelness before securing everything.
Method 2: Using Shark Fins
Attach the shark fins to the retaining wall posts.
Align the Colobond rail with the fins.
Drill and screw both sides of the rail into the shark fin for extra support.
Continue this process along the length of the wall.
Again, make sure everything is level and straight.
Step 5: Final Touches
Once all the panels are up and secured, stand back and admire your handiwork. If anything looks out of place, now’s the time to adjust. If your fence looks perfect—congrats! You’re officially a fencing legend.

Common Mistakes to Avoid
Skipping the leveling process – Your fence will look terrible if it’s not straight.
Not securing the posts properly – Loose posts = wobbly fence.
Using the wrong screws – Invest in the right fasteners for long-term durability.
Conclusion
Installing a Colobond fence on a retaining wall isn’t rocket science, but it does require some planning and precision. Whether you go for the sleeper wall attachment or the shark fin method, doing it properly will ensure your fence is strong, stylish, and built to last.
Now go forth and fence like a pro!